Zabbix Agent Active monitoring
In the previous section we installed our Zabbix agent and started monitoring a host
in the Passive mode. But as mentioned before, the Zabbix agent can also work in
Active mode which has different advantages.
So let's now look at the Zabbix agent in Active mode. In Active mode our
Zabbix agent will be configured to initiate the connection to the Zabbix server
or proxy. It will request its configuration data and receive it back in the same
TCP session. After receiving its configuration it will then start sending the
requested item data according to the configuration received. The connection as
such is always initiated from the Zabbix agent side, meaning you will have to allow
your many agents to connect to your Zabbix servers or proxies instead.
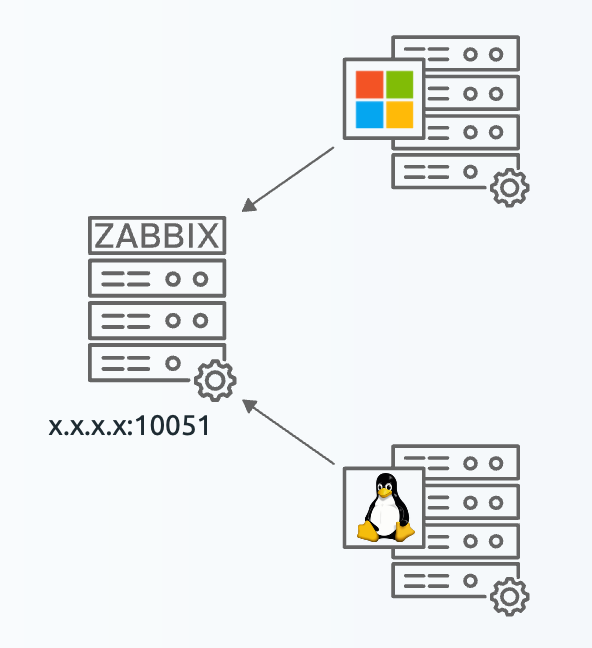
4.24 Zabbix Agent active hosts
Setting up the active agent
It's possible to set-up a Zabbix agent to work in both passive and active mode at the same time. Sometimes, we see this as passive mode was being used but an active only check is added later. For clarity, in our example we will use a different linux and windows server for the active agent. We will call these hosts:
- zbx-agent-active-rocky
- zbx-agent-active-windows
Installation of the Zabbix agent here is the same as described in the previous section,
so we will not go through that again. We will start with the configuration of the active agent.
However, as explained in the Active vs Passive comparison in the previous section,
it is especially important to have correct time synchronization when using Active agents.
Refer to the chapter: Getting started
to set up a time server.
Because the Zabbix active agent will need to know where to request its configuration and where to start sending data to, the setup for the active agent is a bit different. The set-up process however is the same for both Linux and Windows. Let's start by editing the Zabbix agent configuration file.
There are two important parameters to configure. First, let's make sure our Zabbix agent will know where to connect to.
In the example 192.168.46.30 is the IP address of our Zabbix server (or proxy).
Do not forget to remove 127.0.0.1 in this case. Its important to remember that
our Zabbix agent in active mode will connect to every single IP address or DNS
name entered in the ServerActive= parameter. Unlike the Server= parameter we
used to setup passive mode, which functions as an allowlist.
Next up, our Zabbix agent needs to know which configuration data to collect. It
will connect to the Zabbix server (or proxy) on the IP specified and send over
its Hostname= parameter. By default this is set to Hostname=Zabbix server
which is incorrect in all cases except maybe on the Zabbix server itself.
So we need to change this parameter:
Set Hostname parameter
Linux:
Windows
It is also possible to comment the #Hostname= parameters, in which case it will
use the system.hostname item key to determine the hostname. This makes it easy
for environments where the hostname is the same on the system as it will be in
Zabbix (best practice).
There is also the HostnameItem= parameter which you can use to set your own
item to determine the hostname used. This can be an existing item, but also a
UserParameter (more on those later). With this functionality, you can even
execute a bash or powershell script to set a custom hostname like that.
With this configuration set you can restart the Zabbix agent to make the changes
take effect. In Windows restart the Zabbix Agent 2 service using the Services
management console, for Linux issue the command below.
This finalizes the configuration file changes. Now we need to configure the host in Zabbix.
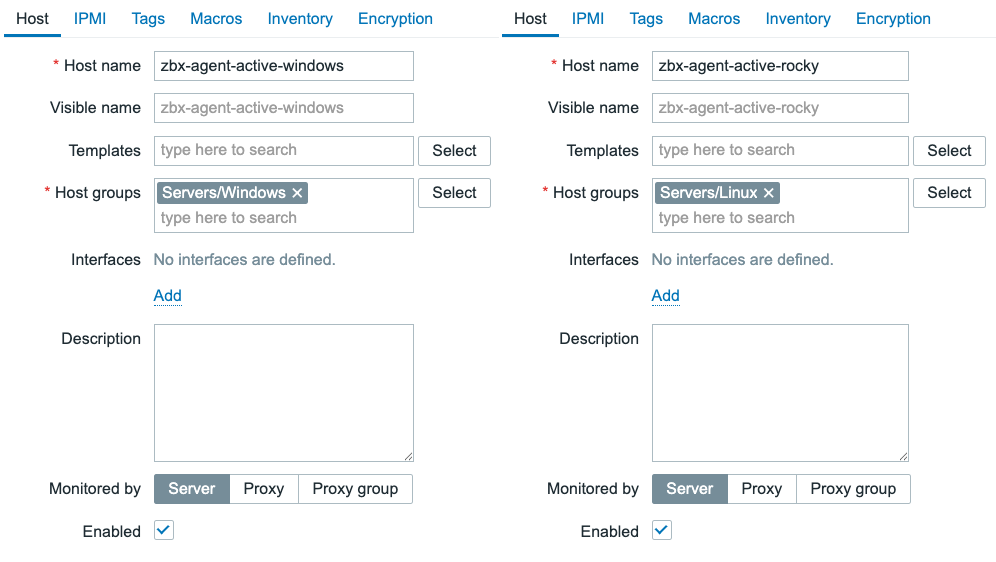
4.25 Zabbix Agent active hosts in Zabbix
All we need to do here is make sure to match the hostname of what we configured
in the Zabbix agent configuration file. Keep in mind that the Hostname field
has to match the Hostname= parameter in the configuration file.
The Visible name field does not have effect on the active agent functioning.
Creating active items
Now that the agent is configured to perform active checks, we can now start to
create some items on our active agent host in Zabbix frontend. Let's click on
Items for our host and configure a new Zabbix active type items.
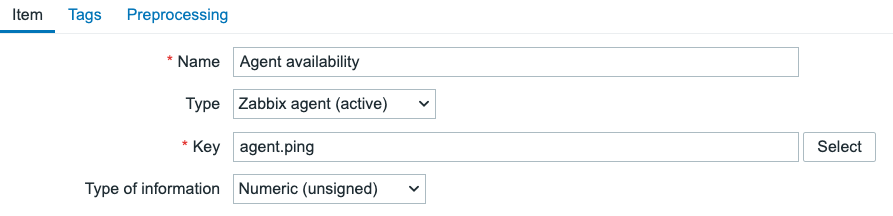
4.26 Zabbix Agent active item
Make sure to set the item Type to Zabbix agent (active). Most item keys will
be the same between Passive and Active mode, but the Type needs to be set
correctly.
Also, do not forget to add the tag to this item.
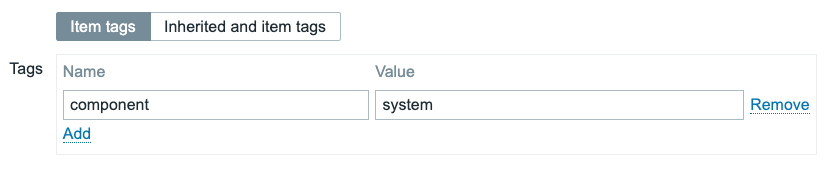
4.27 Zabbix Agent active item tag
Your ZBX icon for this host should now turn green, even in active mode.
Conclusion
In this section we have seen how to set-up a Zabbix agent in Active mode. We
have created a new host in Zabbix and configured it to match the Hostname parameter
in the Zabbix agent configuration file. We have also created a new item of type
Zabbix agent (active) to start collecting data from our active agent.
We have now seen both the Passive and Active mode of the Zabbix agent. Both have their
advantages and disadvantages, and both can be used in different scenarios.
Questions
- Why does the
Hostnameparameter need to match the hostname in Zabbix? - Why is time synchronization important for active agents?
- Can you use the same host for both passive and active checks?